
How to Darn Your Socks
Have you thought about darning the worn-out heel or the hole in the toes of your socks? It requires little time to mend and saves you from having to buy a new pair of socks while giving you the opportunity to create a personal, unique stitching artwork.
With this simple hand sewing technique, you can repair instead of discarding garments and precious materials and deepen your relationship with your clothes. You also break the hegemony of sameness, working towards more personal and particular pieces starting right here with your socks, one of the most essential pieces of clothing. When connecting to artisanal mending techniques you also nurture your inner creativity and help to keep clothes circulating as an important part of the climate crisis.
“Everyone has got this one particular pair of socks in their sock drawer that gets out for a cosy Sunday afternoon on the sofa or the seamless pair of soft bamboo socks that feels like a second skin.”

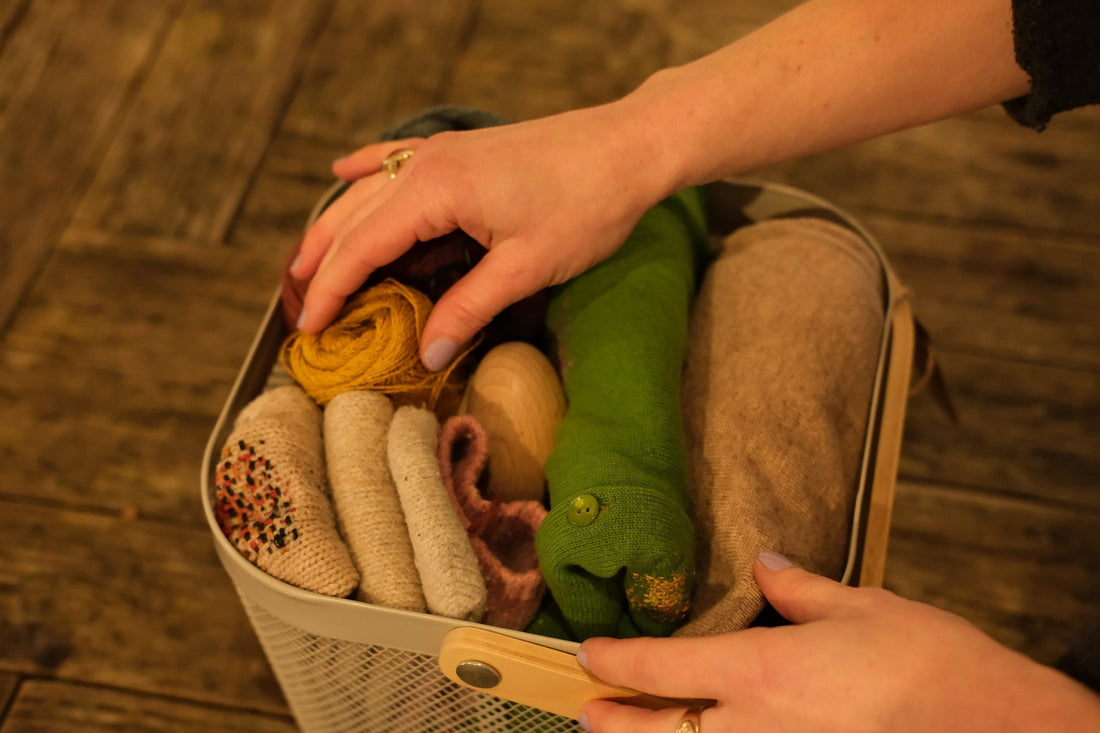
There’s little you need to start darning your socks, thread and needle, a darning mushroom, and scissors.
To mend your precious socks you want to use a darning needle as it’s longer and sharper but an all-purpose needle with an eye size suitable for the thickness of your thread will work, too. For cashmere and wool socks you can use mending wool or any yarn that has about the same thickness as the fibre of your socks. Here, I used mending wool but cotton thread would have worked just fine. What I have learned to appreciate over the last years of mending my clothes is a darning mushroom or darning egg. Both hold the material in place and prevent it from bunching up. And last but not least, have a good pair of scissors and perhaps a thimble at hand.
Make yourself comfortable, it’s the time to slow down and take pleasure in the joy of creating. Imagine yourself sitting on the sofa, your legs wrapped up in a soft woolen blanket, with quiet music playing in the background. You’re about to start your darning project, ready to dedicate some time to a creative act you have been wanting to try out for a long time, but didn’t quite know how and where to start. You’re here now, holding a cup of tea in your hands and enjoying the sense of contentment and excitement that emerges while you go through the step-by-step instruction on how to darn your socks. You start placing the darning mushroom, a friend has given to you a few weeks ago, into the sock with the worn-out heel that you love and want to prevent from rippling apart. The darning instructions are simple and you start stitching the first row, guiding the needle through the loops of the fabric, then the second, and in no time, you have created a beautiful stitching artwork. You slip over the mended sock and take another sip from your cup of tea. A wonderful moment to cherish your dedication and creation - you saved your favourite pair of socks from being thrown away.
How to darn your socks, here is a simple step-by-step instruction and video!
Step 1 Turn your sock inside out if you want to achieve a more natural-looking weave. If you would like to create an eye-catching detail, then work from the right side of your sock. Choose your thread accordingly to your intention and the fabric you work with, you may want a contrasting thread or work toward a more subtle stitching artwork.
Step 2 Thread your needle and secure the thread by passing your needle through the fabric a few times, a little away from the hole or weak area to create a knot.
Step 3 Create a ‘woven box’ around the hole to make the weave. Insert your needle a short distance away from the hole and start a running stitch at the left side, stitching up and down through the loops of your fabric till you’ve reached the opposite side of the hole. Then turn back and repeat till you’ve created parallel rows of thread covering the hole.
Step 4 Now switch direction in order to create the weave, guiding your needle up and down the rows you’ve stitched before. There should be a criss-cross pattern of stitches going from left to right.
Step 5 Once you are finished secure the thread with a knot and guide your needle a few stitches through the fabric before cutting the thread off. Turn your sock inside out if you’ve worked on the left side of the fabric.

Get wild and creative! You can use a contrasting thread to the fabric of your socks or use two different coloured threads to create a weave. You can also try a particular shape around the hole, there are no limits and it’s fun to experiment. You can also use this simple mending technique to repair your favourite cashmere jumper or your kids’ leggings, it works for any kind of woven fabric.
If you would like more inspiration or guidance on how to repair and upcycle your clothes, you can join one of my Clothes Upcycling Workshops, where you’ll also be given a practical home repair kit to take home for all your mending projects.